Overview
This tutorial uses Ubuntu 20.04, Python 3.8, and Apache2. Though this tutorial may work on other setups, things may change over the years, so be warned.
This tutorial starts off with a fresh Ubuntu 20.04 server. In my case, it’s hosted on a private server on my network, but you could also start a cloud instance on services like AWS, GCP, or Linode. This tutorial is a “quick and dirty” way of deploying a Flask app because it’s generally considered better practice to use tools like Docker and virtual environments (venvs) to deploy Flask apps. This solution just gets it running.
1. Install Apache2 Web Server
The first thing we’re going to do is update our package listing, then we’ll install the web server that will host the Flask app. We will install Apache2 and a module to handle wsgi which will help us render the Flask app.
Commom error: You’ll notice here I installed the module version specific for Python3. You’ll need to do this if you are running Python3 and see errors like “No module named flask” in your Apache logs.
$ sudo apt update -y
$ sudo apt install -y apache2 libapache2-mod-wsgi-py3
2. Add Your Flask App to the Server
Since this is a Flask app, we have to install Flask (duh)! Since we are using Python 3, I will use pip3.
$ sudo apt install -y python3-pip
$ sudo pip install flask flask_sqlalchemy
Next, we will need to add a Flask app to our server. I already developed my Flask app beforehand, so I just need to move it to my server to deploy it. You could use tools like Git or FTP to move the files over. In my case, I’ll be using Git and cloning my repo from GitHub. I’ve posted an example Flask app here: https://github.com/dbaseqp/flaskexample.
Choose a location to store your webapp. I will use the normal location in /var/www and create a folder for my Flask apps called flask_apps.
$ mkdir /var/www/flask_apps
$ cd /var/www/flask_apps
$ git clone https://github.com/dbaseqp/flaskexample
Be careful with repository names. For example, your repository is named “flask-example”, you will want to remove the “-“ after you clone it so that the
.wsgifile can load it properly.
After running those commands, you should still be inside the /var/www/flask_apps directory. Create a .wsgi file with any name you like.
$ touch flask-app-example.wsgi
Then, add the following contents to it:
#!/usr/bin/python
import sys
import logging
logging.basicConfig(stream=sys.stderr)
sys.path.insert(0,"/var/www/flask_apps/")

from flaskexample import app as application
application.secret_key = 'Add your secret key'
“app” is the name of the Flask application in my __init__.py
3. Configure Virtual Host for Apache2
Now we need to tell Apache2 where our Flask app is and what to do with it. Create a file in /etc/apache2/sites-available for the site.
$ touch /etc/apache2/sites-available/flask.conf
Then, add the following contents:
<VirtualHost *:80>
		ServerName _
		ServerAdmin email@mywebsite.com
		WSGIScriptAlias / /var/www/flask_apps/flask-app-example.wsgi
		<Directory /var/www/flask_apps/flaskexample/>
			Order allow,deny
			Allow from all
		</Directory>
		Alias /static /var/www/flask_apps/flaskexample/static
		<Directory /var/www/flask_apps/flaskexample/static/>
			Order allow,deny
			Allow from all
		</Directory>
		ErrorLog ${APACHE_LOG_DIR}/error.log
		LogLevel warn
		CustomLog ${APACHE_LOG_DIR}/access.log combined
</VirtualHost>
After saving the file, we will need to enable the virtual host we have just made, and disable the default site.
$ sudo a2ensite flask
$ sudo a2dissite 000-default
We can run a quick config test to make sure everything is correct.
$ apache2ctl configtest
If you see “Syntax OK”, you should be good to go. If not, double check your config file.
4. Restart Apache2
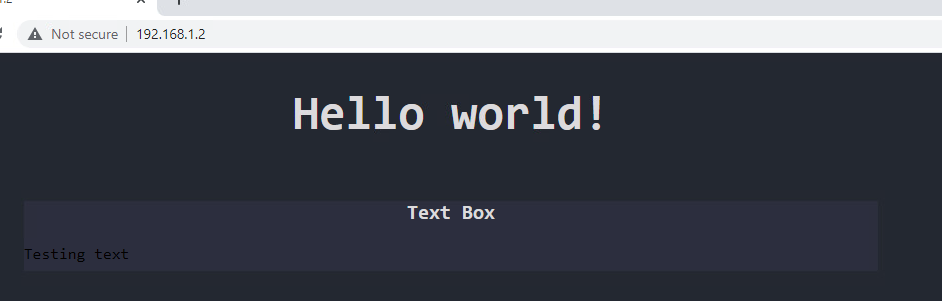
Now you should be able to restart Apache2 and view your site!
$ sudo systemctl restart apache2